
5 Tips CRUCIAL for Building High Tunnels
Anticipating and planning for a project like this can be intimidating and frustrating so we've outlined the 5 Tips that we, at Tunnel Vision Hoops, believe are crucial to a successful high tunnel, greenhouse, or hoop house build.
The tips provided in this blog post are based on over a decade of professional knowledge and insights from not only building these structures but also from valuable customer feedback that informs how we make improvements to our recommended installation process.
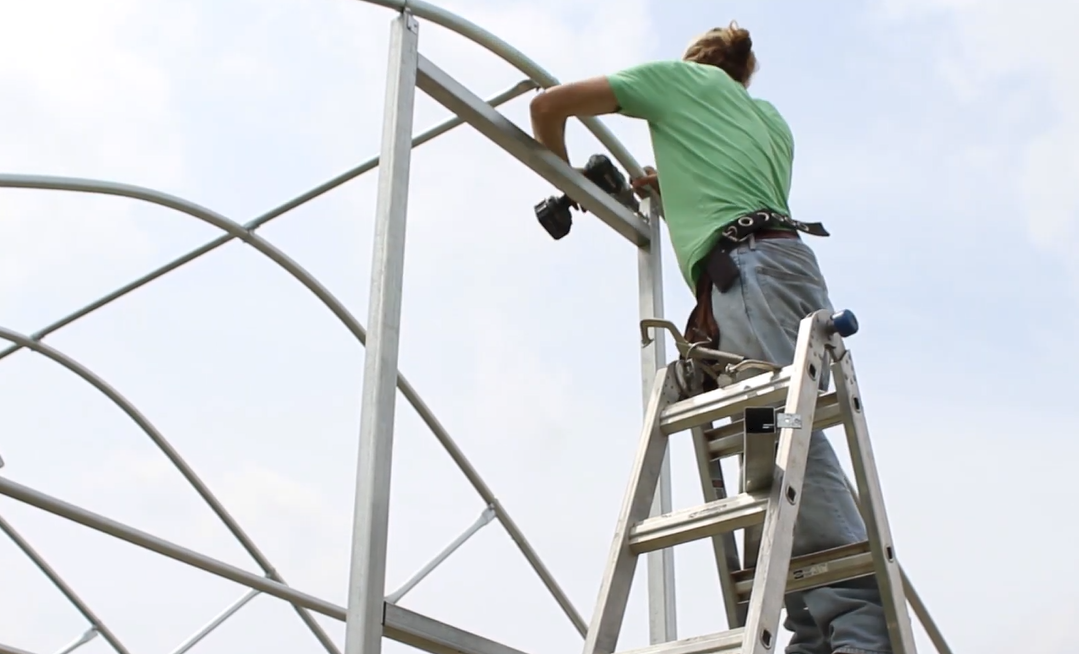
Tip # 1: Don't build the structure with too many people
At Tunnel Vision Hoops we believe 2- 4 people is the sweet spot for a group high tunnel build.
We know this might come as a shock, especially if you are anticipating building a larger structure. However, in our experience the more people involved in the building process, the more problems that can cause.
We believe the best way through the build is with a smaller team at a slower pace -- and the reason being is two fold.
First - Most installation steps are sequential; that is to say that many steps cannot be completed until the step before it has been done correctly.
If there are too many people on a job-site looking for work to do (while we love to see that kind of motivation) the result is often that someone unintentionally skips ahead. Skipping ahead pre-maturely could require un-doing work only to have to re-do it in the correct order, which is a real waste of time.
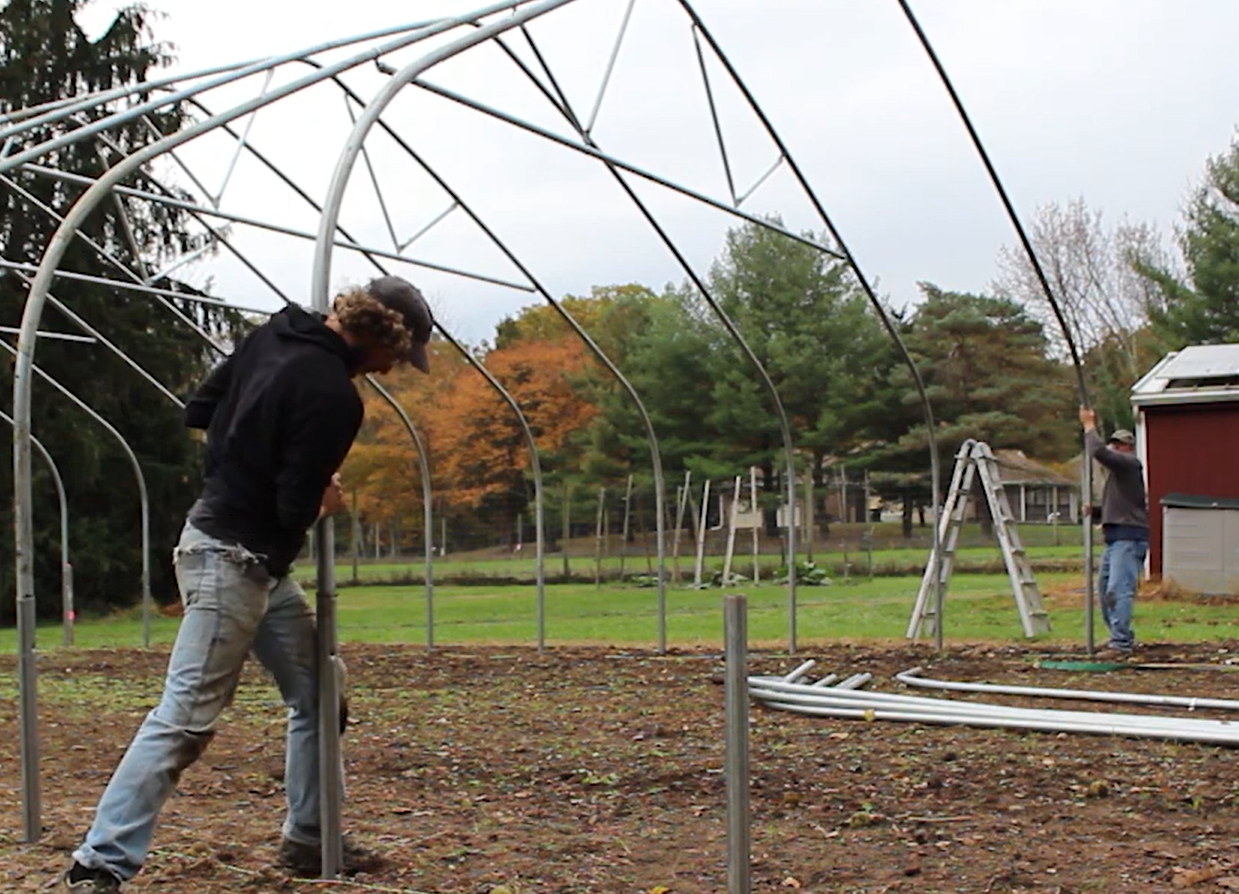
Second - Working with 2 or 4 people creates the perfect scenario of working in teams of two. This makes it possible for one person to hold an item while it is being bolted, for individual steps to be completed faster, etc.
For example, when you have four people on site for install, you can put two teams of (2) on the installation of the hip-rail, and both teams can work through opposite sides similtaneously. When both teams get to the end the entire step has been completed and you can move on as a group to the next steps.
Now, when should 2 people be used and when should 4 people be used?
Well, the answer to this depends on your level of experience building, your budget, and your desired timeline for completion.
If you are a highly experienced builder you can certainly complete the installation of most high tunnels with just two people. That being said, 4 people is ideal if your structure is on the long side since many of the steps are highly repetitive, and (2) teams of two will increase your speed.
Of course you CAN have more than 4 people working with you, but if you do this, we would highly recommend:
- Having a clear plan for how you will use each person's labor
- Providing what specific steps each person on site is tasked with.
- Letting everyone know in advance that there will likely be idle time when they are required to wait before being able to move onto the next tasks.
There should always be a designated leader on building day. For example, if there are 4 people building including yourself, you should task yourself with being the leader of both teams of (2) people and organize the sequential of steps for everyone.
Tip #2 - Prepare your Site before building
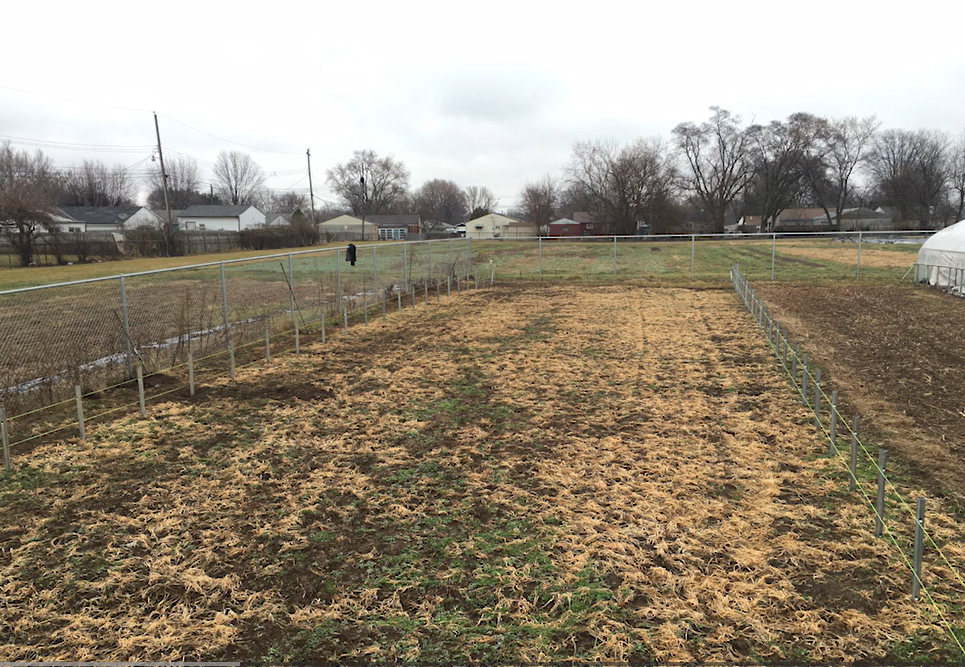
This one seems obvious, however, because these types of structures are so flexible in the ways they are installed, it is actually VERY common for people to install these structures over un-even and un-level earth.
Sometimes it is not possible for growers to level the earth completely before a build, and if that is you, at Tunnel Vision Hoops, we totally get it.
We want to note that there absolutely ARE ways to navigate builds with unlevel earth, however, going that route will some require some difficult decisions to be made at later steps.
If you have time and budget to grade the earth appropriately before the structure arrives for installation, it will not only make anchoring much simpler BUT it will also:
- Make the installation of your baseboards easier
- Reduce the need to backfill earth
- Ensure the anchors on each side of your structure are anchored to the correct depths
- Generally leave you more confident as you move through each step of the build
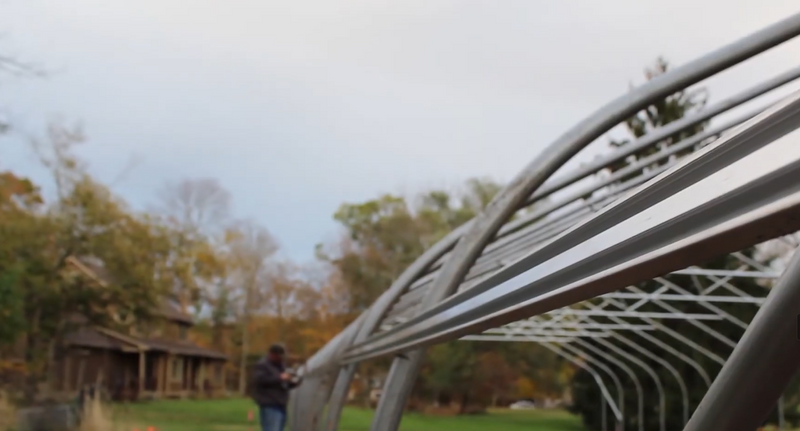
Tip #3 - Budget smartly (Keep Metal Framing where possible)
If you have the budget for a system with all metal framing we highly recommend it not only for ease of install but also for the longevity of the frame lifespan. That said, we completely understand that many people need to make compromises for their budget.
If you have to change the structure configuration to reduce the price, at Tunnel Vision Hoops we would recommend starting in two places before looking at sacrificing metal framing:
1) Opting for a more budget-friendly roll-up operator can provide significant savings. Instead of going with a gear box operated roll-up side, perhaps you can go with a universal joint handle. This, for example, can save you at least $200 on a standard structure package that is 48 ft. long.
2) Opting not to include any peak end-wall shutters can also provide significant savings. Instead of getting a structure with end-wall shutters, instead plan to add these in the future when you have more flexibility in your budget.
You can even plan for this by requesting a Tunnel Vision Hoops DIY structure kit with framing on each endwall for "future" vents or exhaust fans. Later, when the budget presents itself you can purchase those vent components and pop them in from the inside of the structure.
For example, at the time this blog was written, removing both 30" x 30" aluminum shutters (one on each end) from a standard package structure could save you around:
- $183 per, or about $366 total for non-electric auto open and close shutters
- $311 per, or about $622 total for motorized shutters with thermostat control via electricity
Outisde of the change in roll-up operators and the removal of end-wall vents, next we look at the metal frame. When it comes to metal framing components there are 3 areas to talk about eliminating for savings.
These are:
- Metal baseboards
- Metal hip-rails
- Metal end-wall framing.
Not all of these aspects are as easily replicated out of lumber so if you have to eliminate metal framing components due to budget constraints this is the order in which we would recommend reducing metal framing.
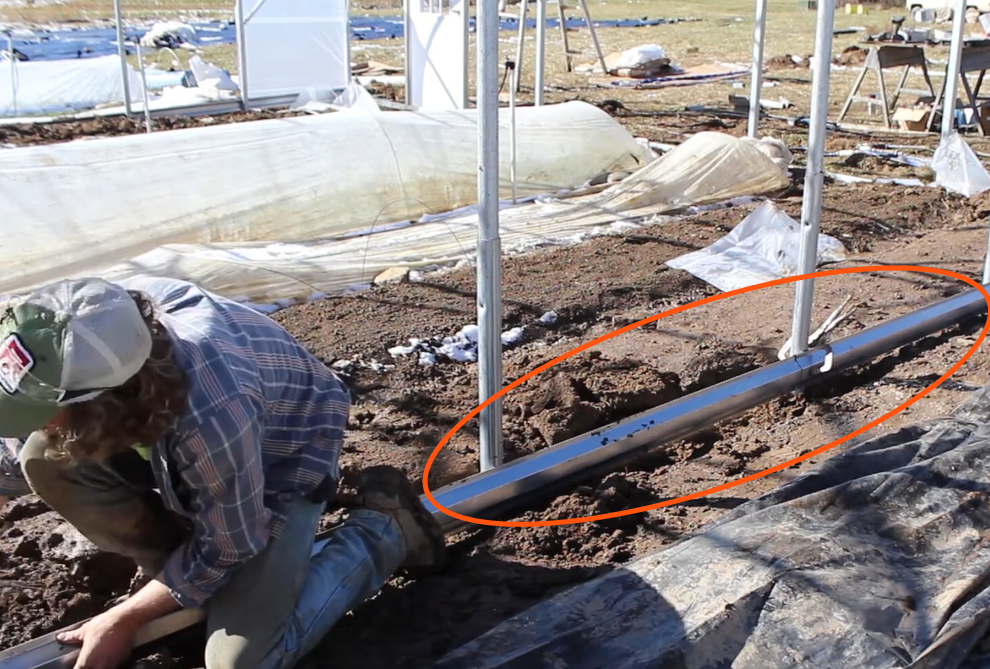
1) Drop the metal Baseboards
If you do need to reduce cost further and find yourself at a point where the only way to get there is removing metal framing, we suggest that the baseboard is the first place you look since it is the easiest of these three metal features to replace with locally sourced lumber.
We recommend this as the first metal component to sacrifice for budget, mainly because doing so will provide a large price drop AND installing lumber baseboards is relatively easy.
Obviously this can change if lumber pricing goes up, but as an example at the time this blog was written, just removing the metal baseboards on a 48 ft. long structure, for example, could save you around $400.
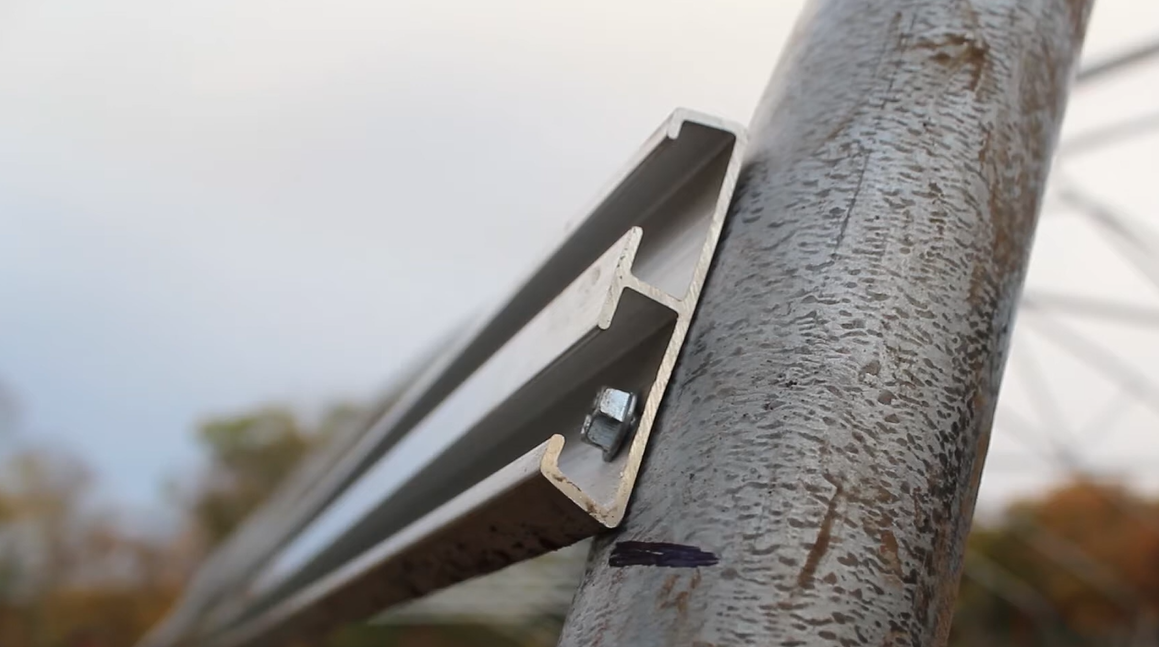
2) Eliminate the Metal Hip-Rail
Hip-rails is the next component we would look at eliminating if the budget required us to scrap another metal feature. Again, it is highly recommended to make these components out of metal, however, if you did need to replace the hip-rails with lumber it is still relatively easy to do so.
To give you an idea on savings, removing double channel hip-rail on each side of the structure would save you around $300 on a 48ft long stucture, at the time this blog post was written.
However, please keep in mind that lumber is not the only thing you will need if Double Hip-Rail Channel is eliminated from your project. You will still need to source Single Polylock Channel to attach to your lumber hiprail which can eat away at some of the savings you were hoping to gain.
3) Remove Steel Endwall Framing
The last resort metal framing component you could remove to reduce the total cost of the structure, is end-wall framing.
Technically, you can make your end-wall framing out of lumber but it is also the most difficult of the metal framing components to replicate out of lumber.
Yes, lumber endwalls can save you money but they also tend to warp and rot over time which can cause major issues for entrances and vents you've framed for in your lumber ends.
Removing metal end-wall framing in lieue of lumber you supply, can provide substantial savings- probably between $700 and $2200 per structure depending on the width and height needed.
Before moving to the next step we just want to re-iterate that having metal base, hip, and endwalls can make a real difference when it comes to the longevity of your structure life, if you have the budget for it.
Tip #4 - Familiarize yourself with the Install Process
If you are reading this blog post you are probably already on the correct path when it comes to this tip, but it really is that simple. In order to prepare yourself for a build of these structures, it needs to be something you dedicate time to learning about.
Watch videos from the Tunnel Vision Hoops Youtube Channel, read posts on the Tunnel Vision Hoops Blog, seek insight from local growers like yourself, or if you are buying a new DIY structure kit, ask for written instructions ahead of the structure delivery so you have time to study them.
If you don't like studying, or would prefer a more hands on approach to learning about these structures, we'd recommend messaging your local agriculture extension office or NRCS agency to let them know you are willing to help on a build if there is anyone else seeking labor... who knows, maybe you can be brought in as a volunteer on another build to get your feet wet!
Tip #5 - Pre-schedule your Build Days
Don't just assume "I'll build it when I get the time" because, well, the odds are you won't have the time if you don't plan for it. And yes, that is a little bit of an exaggeration, but the reality is we are all busy, and unless we schdule time for things we are commmitted to we often push them back further and further.
The build doesn't have to happen in one bulk set of days. Even just mapping out, for example, two weekends of dedicated build time set aside for your install, can make a huge difference between waiting to build a pile of materials, and watching that material turn into a productive and integral part of your growing operation.
Another tip -- because weather is unpredictable we would highly suggest having a contingency date (or two) in place in the event that your planned build dates fall through completely due to weather.
Hopefully these 5 Tips help you better prepare for a high tunnel or greenhouse build.
If you are still in the beginning of your installation planning stages (and you are looking for a crash course on what to expect for the installation process) be sure to watch our our video or read our blog post on How to Build ANY Greenhouse or High Tunnel in 20 Simple Steps.
If you are looking for a quote on a full package DIY Kit, at Tunnel Vision Hoops we offer highly customizable packages.
- Request a High Tunnel Quote here
- Email us directly at info@tunnelvisionhoops.com
- Call us at 833-886-6351 ext 1.