
How to Install Greenhouse Plastic | Order of Operations to Stretch Top Cover

For any greenhouse, high tunnel, or hoop house builder there is a dreaded day when greenhouse plastic needs to be installed. If you are brave enough to install the top cover yourself you will want to read this post, which covers when you should install greenhouse plastic, the order of operations, how tight it should be when you are done, and more.
Installing greenhouse plastic over the top of any structure requires a calm day, warm temperatures, and greenhouse plastic that can follow standard installation protocol for unrolling and dropping the sides of the plastic over the top of the structure.
When Greenhouse Plastic Should be Installed
If you are building a greenhouse or high tunnel the best time to install the top cover is during a calm day, because installing poly on a windy day is bound to end poorly, even if you have a handful of people helping you get the plastic in the right position.
Outside of pulling the greenhouse plastic on a calm day, it is also ideal to install your greenhouse plastic on a warm day.
A sunny 70 degree day is an ideal day to pull greenhouse plastic, because greenhouse plastic expands and contracts with temperature fluctuations, and installing the plastic during a warm day reduces the potential for loose plastic when the weather gets hot.

Pulling plastic over the top of your structure in cold weather is okay, but you should do so with the understanding that adjustments might be necessary when the weather gets warm and the plastic expands.
If you aren't sure what size plastic you require yet, you can check out our post on how to determine the size cover you need.
Order of Operations for Installing Greenhouse Plastic
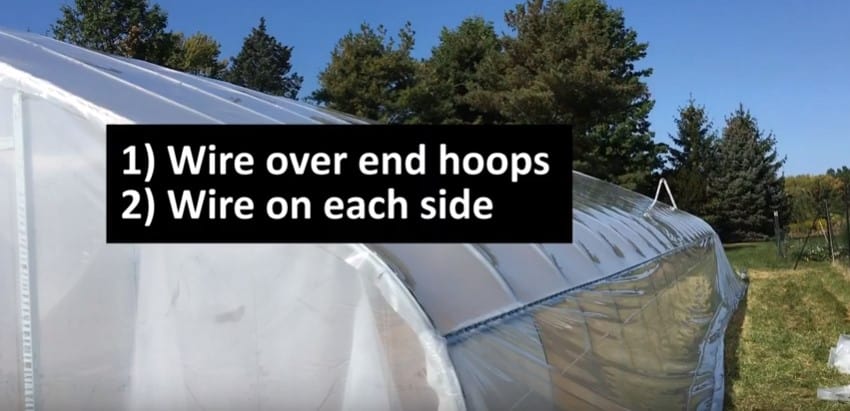
The general order of operations for any plastic installation is pretty straight forward. You get plastic on your tunnel, attach the plastic on the ends, thenattach the plastic on the sides.
While this is the general process, continue reading for full details on how two people can install greenhouse plastic on almost any sized tunnel.
Pulling Plastic Over Top your Greenhouse or High Tunnel
The steps outlined below are useful with only two people installing poly or many people. It is always better to have as many people as possible helping to install the poly. The steps cover getting the plastic in place, keeping it compact so the wind cant blow it away, and securing it with channel and springwire.
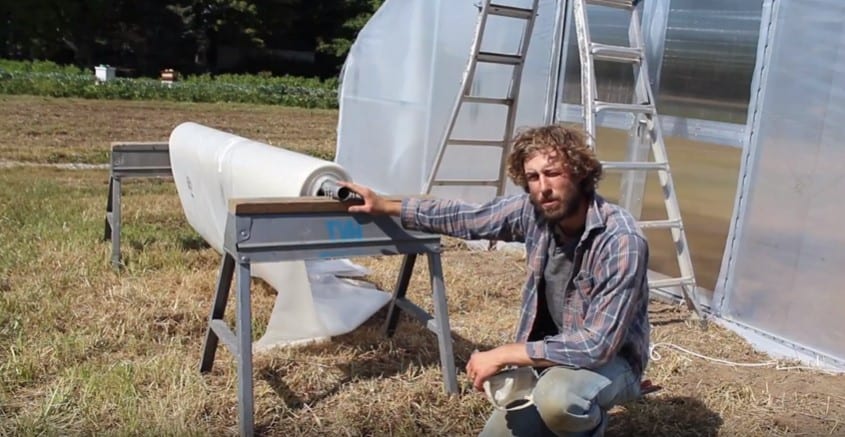
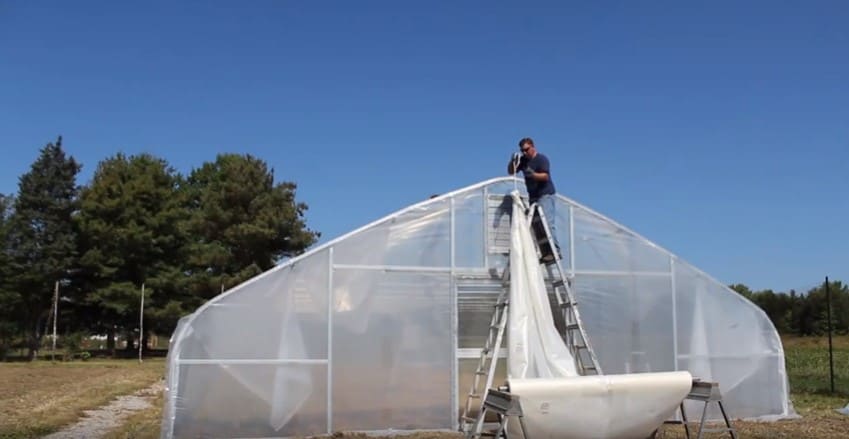
1. Set the Roll of Plastic up on One End
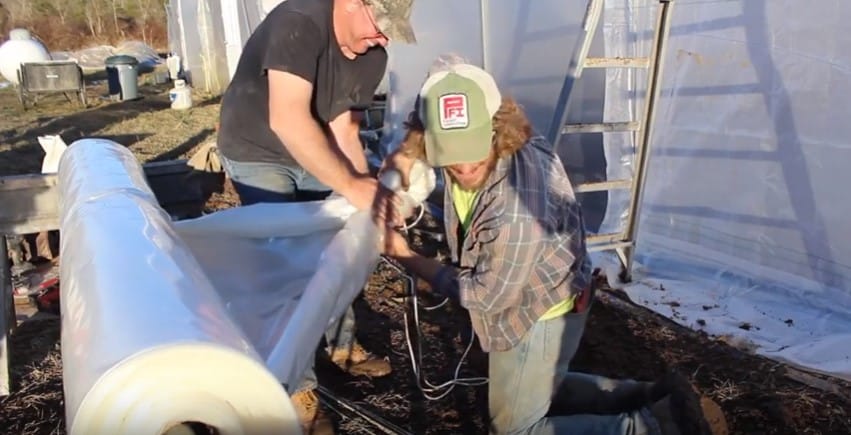
2. Fold Ends and Tie a Knot Firmly Around Nub
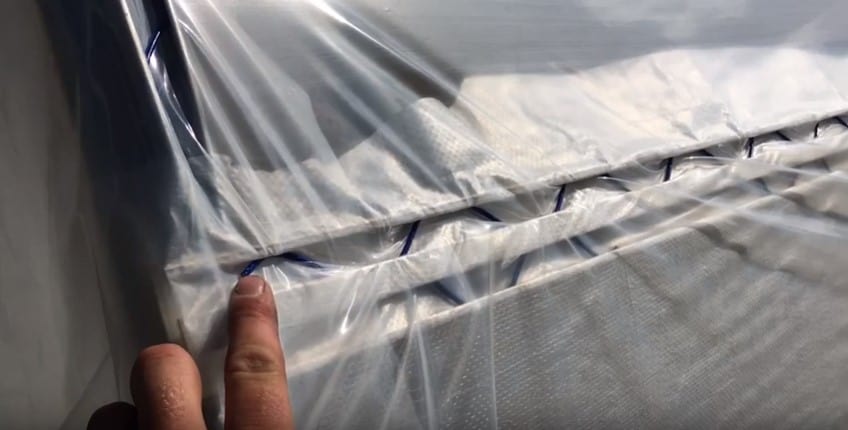
3. Close-up Picture of Nub is Shown Below
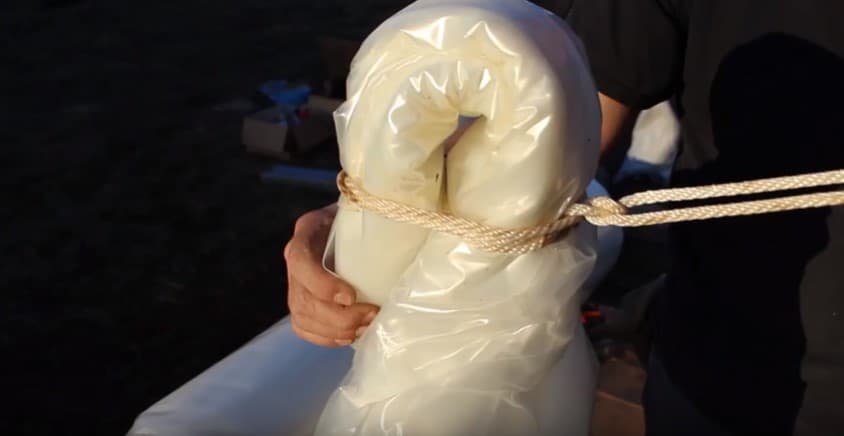
Notice how the plastic has been folded / rolled in toward the center of the plastic roll and then secured with a rope that is knotted several times. The end of the plastic is then folded back on itself and the rope is knotted again on the underside of the plastic to provide a smoother "pull" across the top of the structure.
4. Run the Rope Across The Top of Your Structure to the Other End
5. Person on Plastic End of Structure can Begin Taking Pressure Off the Plastic
6. Person Pulling the Rope / Plastic Should Keep Plastic Centered on Top of High Tunnel
7. The Plastic Will Ultimately Unfold Perfectly to The Left and Right
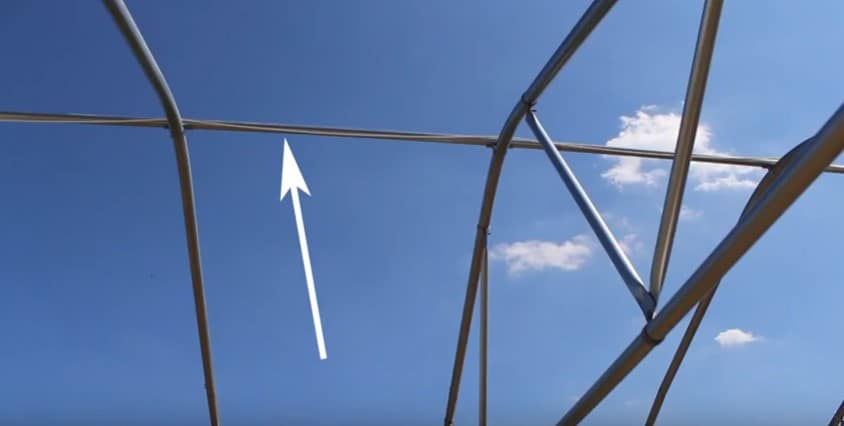
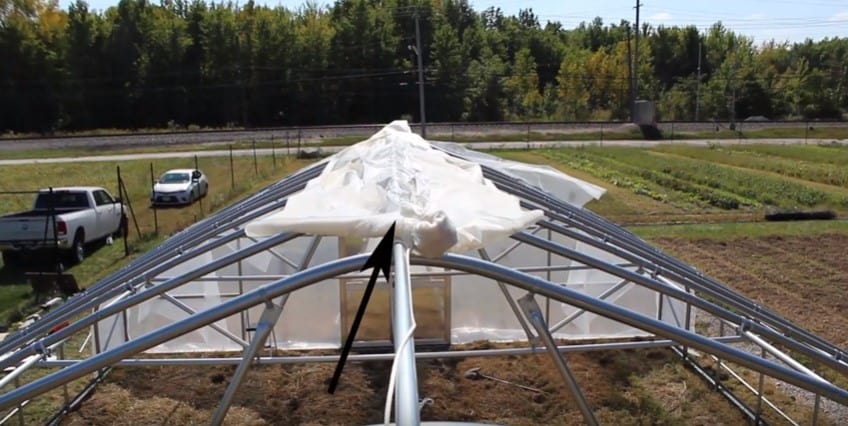
8. Pull The Plastic All the Way Past Opposite End of Structure - Wire In Place at Peak
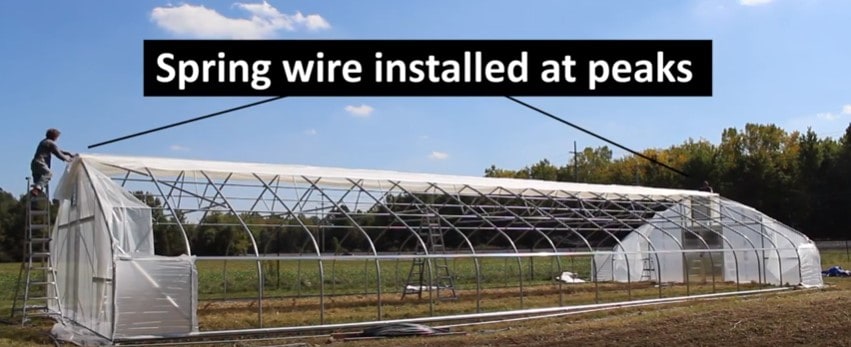
9. One Person Remains Near Peak to Hold While One Person Drops One Side
10. Install Spring Wire (Temporary) Beneath Hip Rail on Each End of Structure
You will repeat this process on the opposite side of the structure. Dropping the plastic to the ground and using Spring Wire to hold it in place on the left and right.
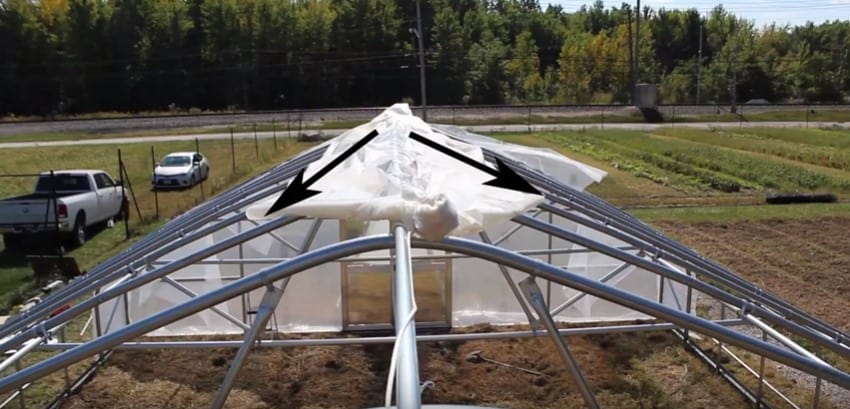
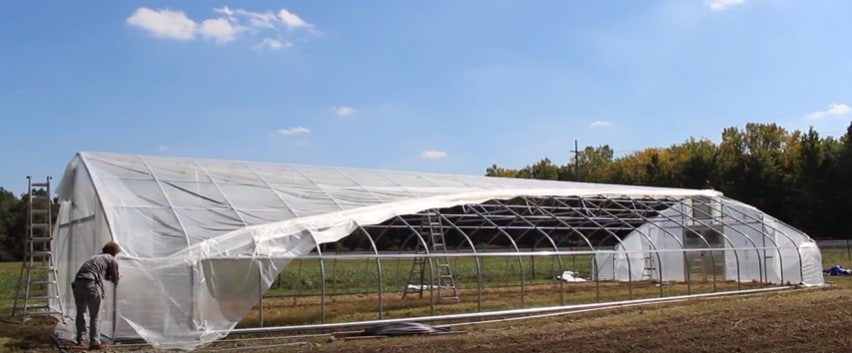
11. Work From the Center Peak Down Toward Your Hip-Rail; Person on Opposite Side Should Mirror You
Do this in both directions, from your peak all the way to your hip-rail.
12. Start In Middle of Sides and Work Out Toward Ends
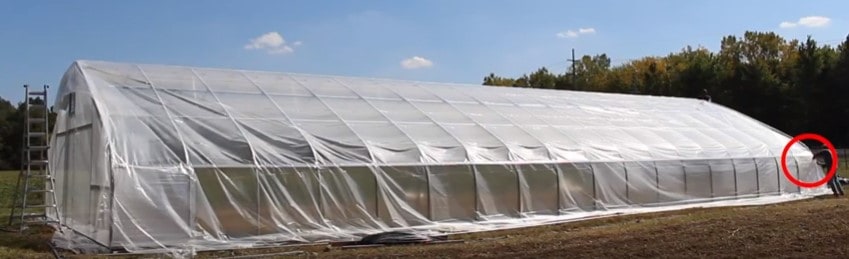
13. End the Spring Wire at the End of Your Hip-Rail
How Tight Should Greenhouse Plastic Actually Be
It is one thing to get plastic in place on the top of the structure, and another thing all together to get your plastic secured tightly. The reason to install the plastic tightly is to reduce movement in the wind.
Pulling your plastic tight reduces the amount of movement in the top cover during inclement weather events. This will not only reduce the wear and tear on your plastic, but will reduce the stress put on your high tunnel framing.
While installing the plastic in warm weather is one of the best ways to ensure your top cover won't be loose, you can also take the following tips into consideration.
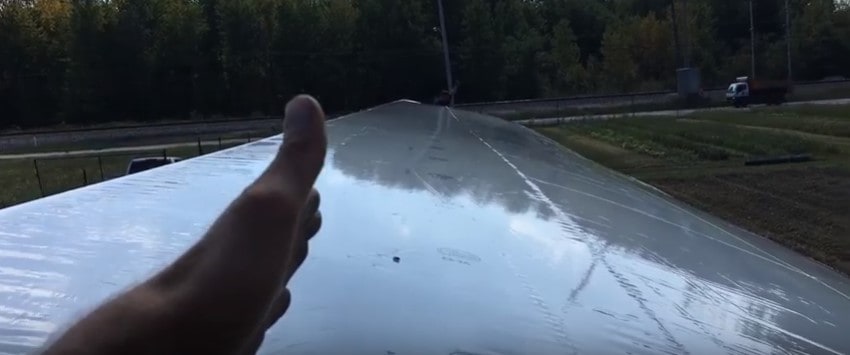
Start at the Peak Ends of The Structure; Pull Ahead of The Wire to Take Slack Out
Side
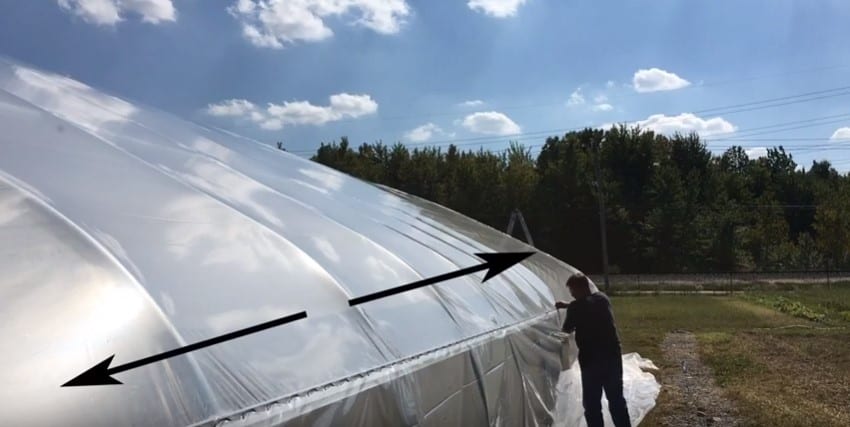
Start in the Middle of Each Side and Work Outward; Use These Tips for Creating a Tight Pull
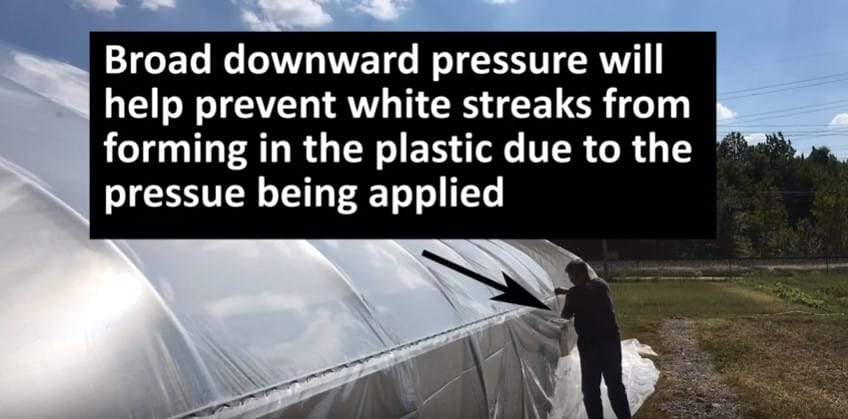
Your Forearm is Your Friend for Applying Pressure

Use The Fold Lines to Keep Square
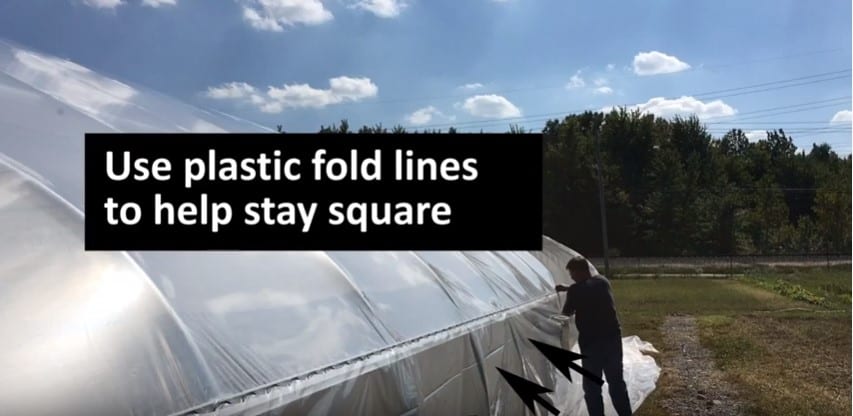
Repeat on the opposite side of the structure, starting at the center and working toward each end. After you are done installing your Spring Wire you are now ready to install your roll-up sides.
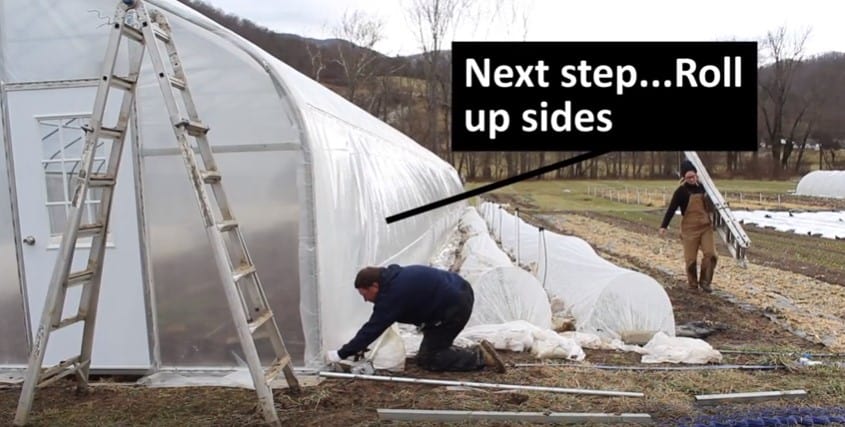
If you are ready to learn more about how to install roll-up sides, as well as the hardware items required to put them together you can check out our post on Greenhouse Roll-up Sides | Benefits, Hardware, Installation.
Hardware to Attach your Top Cover
If you have read through this post, and you think you have a great grasp on the order of operations for installation greenhouse plastic, but aren't sure how the plastic is attaching to the high tunnel we cover that in another post on plastic attachment hardware.
We find that Spring Wire Channel and Spring Wire are the best way to attach greenhouse plastic to a high tunnel. We also feel that a good Anti-Drip Greenhouse Plastic is the best low-cost greenhouse plastic covering option available.
RELATED POSTS: